


How to Connect AirPods to Your Mac: A Comprehensive Guide

Connecting your AirPods to a Mac is a straightforward process that unlocks a seamless audio experience for work, entertainment, and everything in between. Whether you’re using AirPods, AirPods Pro, or AirPods Max, this guide will walk you through the steps to establish a reliable Bluetooth connection. We’ll cover the initial pairing, reconnecting, and troubleshooting common issues, ensuring you can enjoy your wireless audio without interruption.
Understanding Bluetooth Connectivity
Bluetooth is the wireless technology that enables your AirPods to communicate with your Mac. It operates on the 2.4 GHz ISM band, allowing for short-range, low-power data exchange. For AirPods to function with your Mac, both devices need to have Bluetooth enabled and be within range of each other, typically around 30 feet (10 meters).
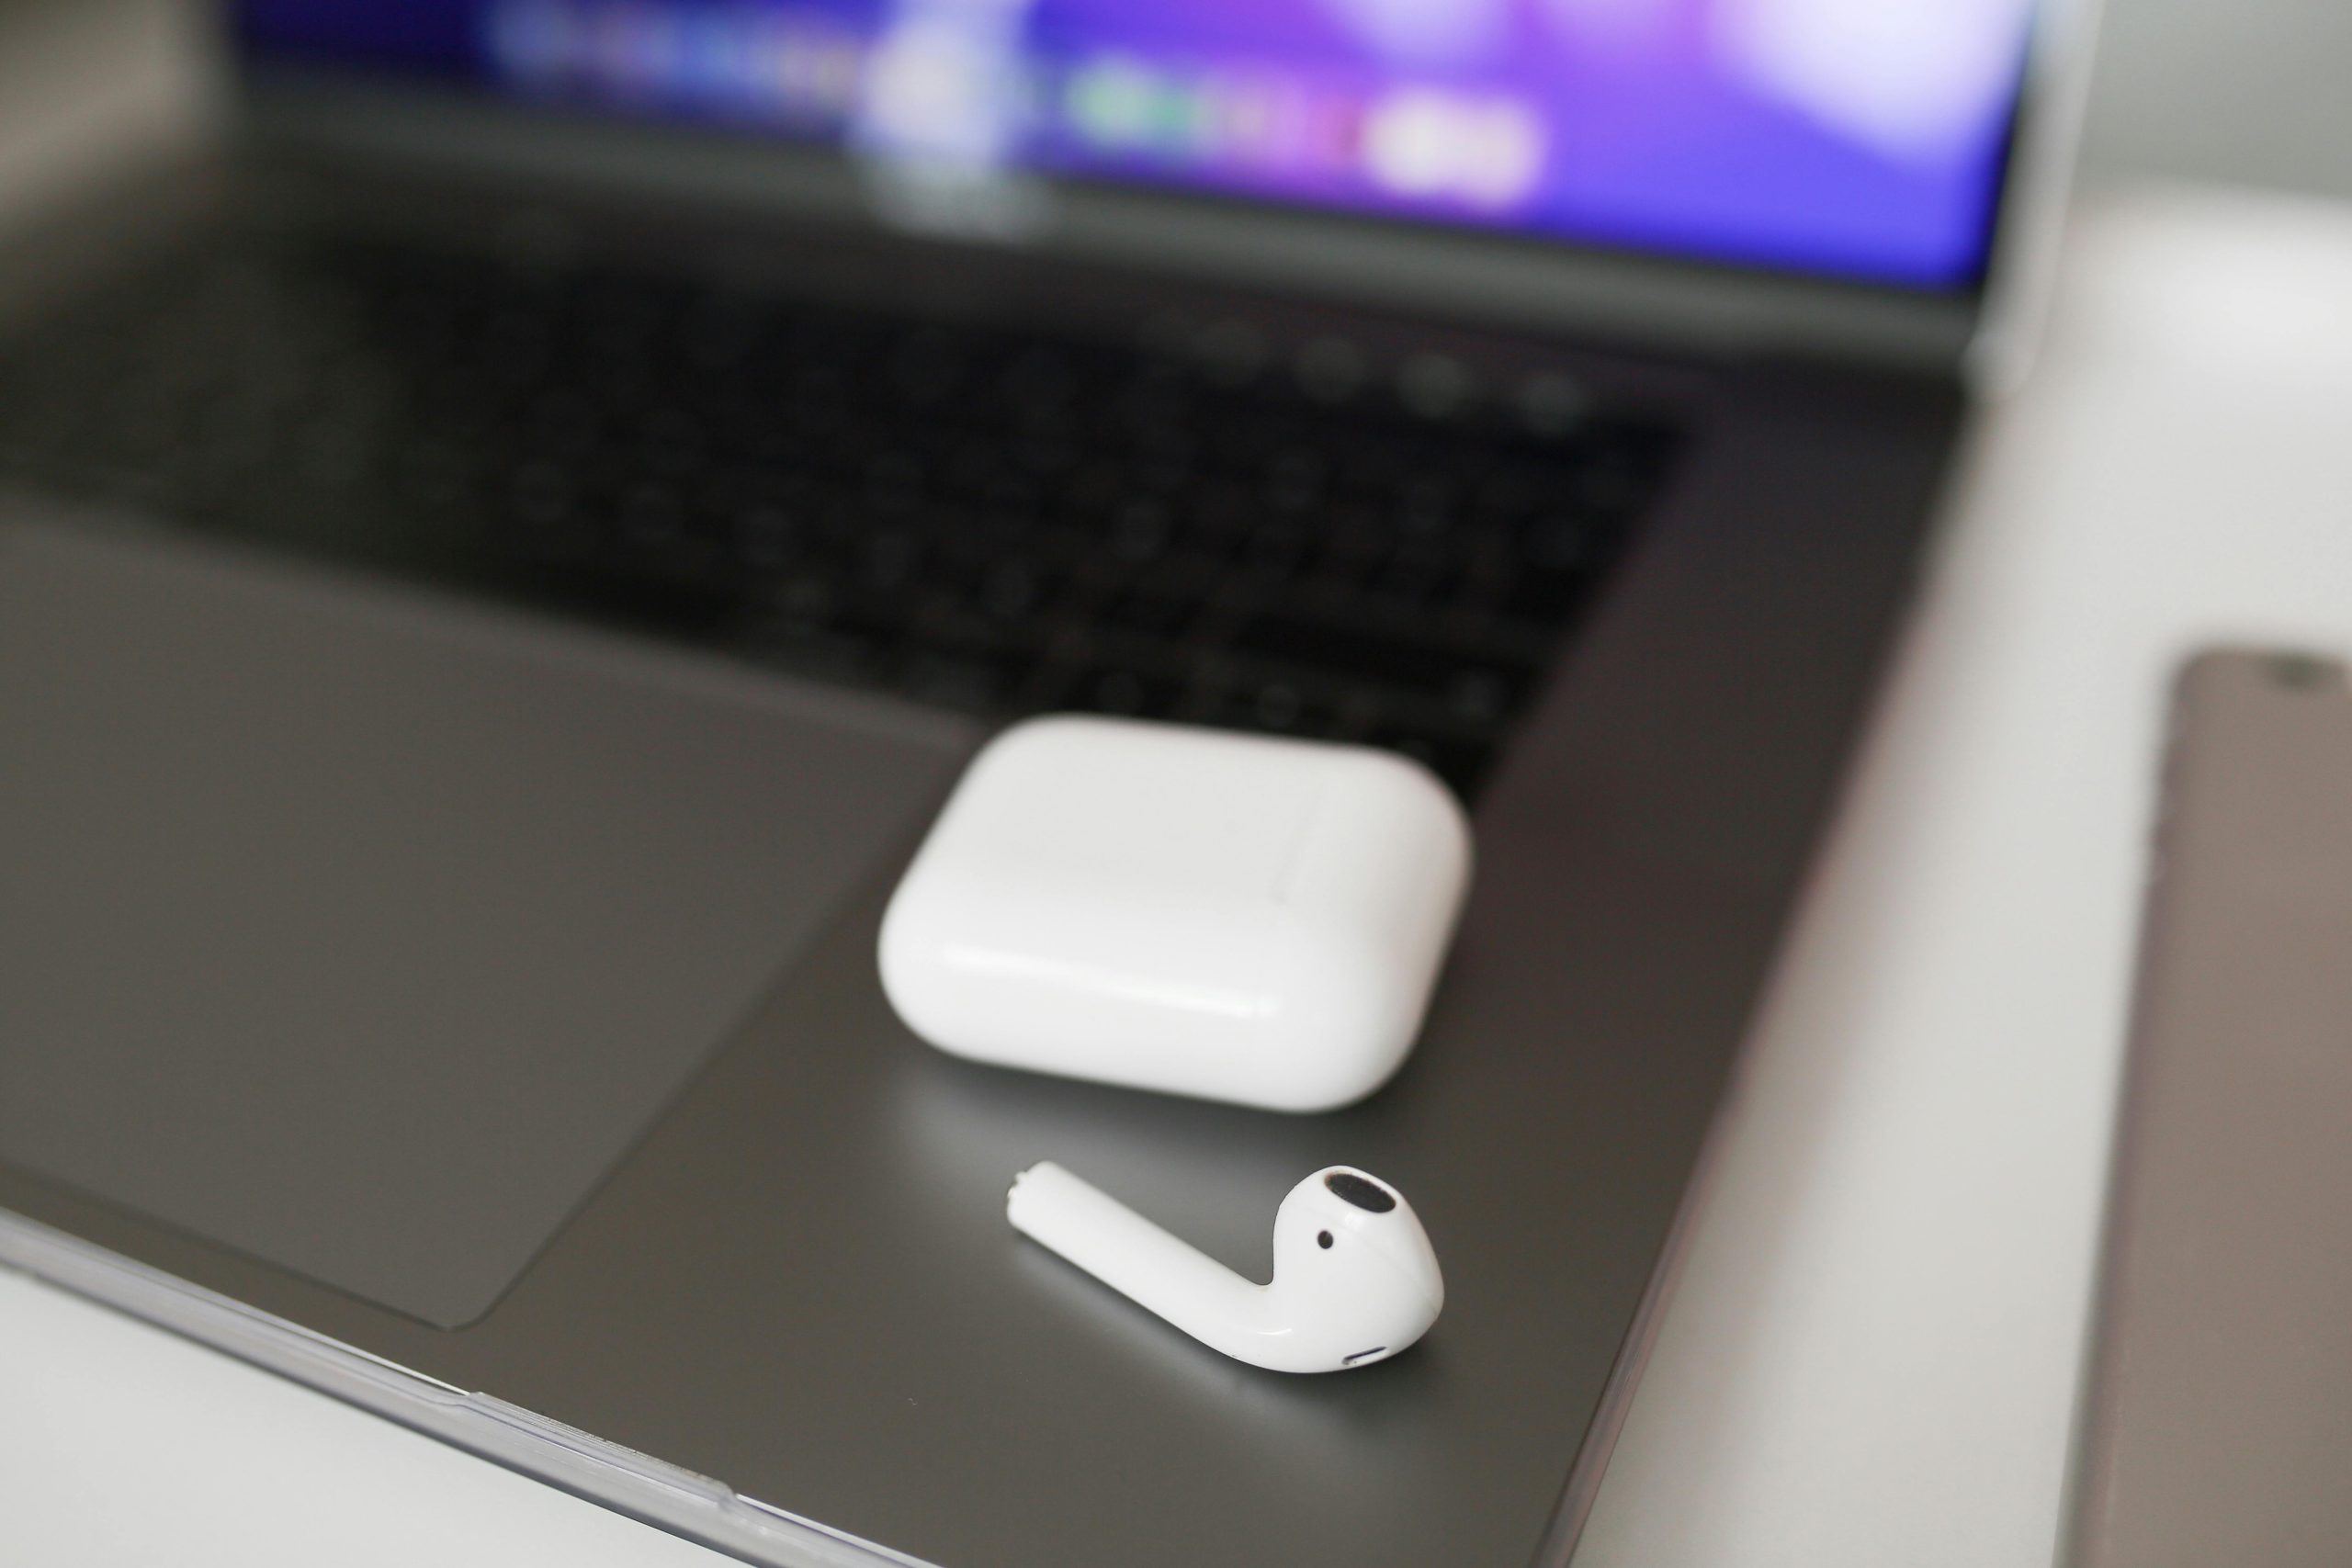
Initial Pairing: Connecting AirPods to Your Mac for the First Time
The first time you connect your AirPods to a Mac, the process is designed to be intuitive, especially if you’ve already paired them with an iPhone or iPad signed into the same Apple ID. This feature, known as automatic switching, leverages iCloud to sync your AirPods across your Apple devices.
Prerequisites for Pairing
- Ensure Bluetooth is Enabled on Your Mac: Go to System Settings (or System Preferences on older macOS versions) > Bluetooth and make sure the toggle is switched on.
- Charge Your AirPods: Ensure your AirPods and their charging case have sufficient battery life.
- Keep AirPods in the Case: For the initial pairing, your AirPods should be inside their charging case.
- Unlock Your iPhone (if applicable): If your AirPods are already paired with an iPhone using the same Apple ID, unlocking your iPhone can sometimes prompt the connection to your Mac.
Step-by-Step Pairing Process
- Open the Charging Case: With your AirPods inside, open the lid of the charging case.
- Press and Hold the Setup Button: Locate the small, circular setup button on the back of the charging case. Press and hold this button until the status light on the front of the case flashes white. This indicates that your AirPods are in pairing mode.
- On Your Mac:
- Navigate to System Settings (or System Preferences) > Bluetooth.
- Your Mac will scan for nearby Bluetooth devices.
- Under the “Nearby Devices” or “Devices” list, you should see your AirPods appear.
- Click the Connect button next to your AirPods’ name.
- Follow On-Screen Prompts: Your Mac may display a connection request. Click Connect to confirm.
- Confirmation: Once connected, your AirPods will appear in the list of connected Bluetooth devices, and the status light on the case will turn solid white.
Automatic Switching and iCloud
If your AirPods are already paired with an iPhone or iPad that is signed into the same Apple ID as your Mac, the pairing process can be even simpler. When you open the AirPods case near your Mac, a notification may appear on your Mac’s screen. Simply click Connect on this notification to pair your AirPods. This feature relies on iCloud and ensures your AirPods are readily available across your Apple ecosystem.
Reconnecting AirPods to Your Mac
Once paired, your AirPods should automatically reconnect to your Mac whenever they are turned on, in range, and Bluetooth is enabled. However, if they don’t reconnect automatically, you can manually connect them.
Automatic Reconnection
When your AirPods are in their case with the lid open, and your Mac is nearby with Bluetooth on, they should appear in the menu bar. Click the Control Center icon in the menu bar, then click Sound, and select your AirPods from the list of output devices.
Manual Reconnection
- Ensure AirPods are Ready: Take your AirPods out of the charging case.
- Open System Settings/Preferences: Go to System Settings (or System Preferences) > Bluetooth.
- Select Your AirPods: In the list of devices, find your AirPods. If they are not connected, you will see a Connect button next to them. Click it.
- Using the Menu Bar: If you have the Bluetooth icon enabled in your menu bar (System Settings > Control Center > Bluetooth > Show in Menu Bar), you can click the Bluetooth icon, select your AirPods from the list, and choose Connect.
Managing AirPods Settings on Mac
Your Mac allows you to customize certain aspects of your AirPods’ functionality.
Accessing AirPods Settings
With your AirPods connected and in your ears, you can access their settings:
- System Settings (or System Preferences) > Bluetooth.
- Find your AirPods in the list of connected devices.
- Click the Options button next to your AirPods’ name.
Customizable Options
- Microphone: Choose whether the microphone should be set to “Automatically Adjust AirPods Microphone” or to use the microphone on the left or right AirPod.
- Noise Control (for AirPods Pro and AirPods Max): Select between Noise Cancellation, Transparency, or Off.
- Spatial Audio: For supported AirPods models, you can manage Spatial Audio settings, including Head Tracking.
- Double-Tap/Press and Hold Actions: Customize what happens when you double-tap an AirPod stem (for AirPods Pro and AirPods 3rd gen) or press and hold the noise control button (for AirPods Pro and AirPods Max). Options typically include playing/pausing audio, skipping tracks, activating Siri, or toggling noise control.
Troubleshooting Common Connection Issues
While connecting AirPods to a Mac is generally reliable, occasional issues can arise. Here are some common problems and their solutions.
AirPods Not Appearing in Bluetooth List
- Restart Bluetooth: Turn Bluetooth off and then back on on your Mac.
- Reset AirPods: Place both AirPods in the charging case, close the lid, wait 30 seconds, then open the lid. Press and hold the setup button on the back of the case for about 15 seconds, until the status light flashes amber, then white. Then try pairing again.
- Check for Interference: Other wireless devices or even microwave ovens can interfere with Bluetooth signals. Try moving to a different location.
- Update macOS: Ensure your Mac is running the latest version of macOS, as updates often include Bluetooth stability improvements. As of late 2024, macOS Sonoma and macOS Ventura are the primary supported operating systems.
Audio Stuttering or Dropping
- Check Battery Levels: Low battery on AirPods or the charging case can cause performance issues.
- Reduce Distance: Ensure your AirPods are within the optimal range of your Mac.
- Close Unused Apps: Too many applications running simultaneously can strain your Mac’s resources, potentially affecting Bluetooth performance.
- Reset Network Settings (Advanced): On your Mac, you can try resetting your Bluetooth module. This is a more advanced step and involves deleting specific preference files. It’s recommended to back up your Mac before attempting this.
AirPods Not Connecting Automatically
- Verify Apple ID Sync: Ensure both your Mac and your iPhone/iPad are signed into the same Apple ID with iCloud enabled.
- Check Bluetooth Status: Make sure Bluetooth is turned on for both devices.
- Forget and Re-pair: On your Mac, go to System Settings > Bluetooth, click the “i” icon next to your AirPods, and select Forget This Device. Then, re-pair them following the initial pairing steps.
Troubleshooting Spatial Audio and Other Features
If features like Spatial Audio or automatic device switching aren’t working as expected:
- Check Compatibility: Ensure your AirPods model and macOS version support the feature you’re trying to use. Spatial Audio, for instance, requires AirPods Pro (1st generation or later), AirPods Max, or AirPods (3rd generation) and is supported on macOS Monterey or later.
- Restart Devices: Sometimes a simple restart of your Mac and AirPods can resolve software glitches.
- Update Firmware: AirPods firmware updates are delivered automatically when your AirPods are connected to your Apple device and charging. Ensure your AirPods are charged and connected to your iPhone for a period to receive any available updates.
AirPods Max Specifics on Mac
AirPods Max, Apple’s over-ear wireless headphones, connect to your Mac in the same way as other AirPods models but offer additional features and controls.
Connecting AirPods Max
Follow the same initial pairing steps as other AirPods. Once paired, you can use the Digital Crown to control volume and playback, and the Noise Control button to switch between Active Noise Cancellation and Transparency mode.
Managing AirPods Max Settings
In addition to the general AirPods settings on your Mac, AirPods Max have specific options:
- Audio Sharing: You can share audio from your Mac to a second pair of AirPods or Beats headphones. With your AirPods Max connected, go to System Settings > Bluetooth, click the “i” icon next to your AirPods Max, and select Share Audio.
- Head Tracking: For immersive audio experiences, head tracking can be enabled or disabled in the Spatial Audio settings.
Tips for Optimal Performance
- Keep Software Updated: Regularly update macOS and ensure your AirPods firmware is current. Firmware updates are typically automatic.
- Manage Bluetooth Connections: If you frequently switch between multiple Bluetooth devices, ensure only the desired device is actively connected to prevent interference.
- Clean Your AirPods and Case: Dust and debris can sometimes interfere with charging and connectivity.
- Understand Range Limitations: While Bluetooth has a decent range, obstacles and distance can degrade signal quality.
Conclusion
Connecting your AirPods to your Mac is a fundamental step towards a more integrated and enjoyable audio experience. By following these steps, you can ensure a smooth pairing process, effortless reconnections, and effective troubleshooting for any issues that may arise. With the convenience of wireless audio, your AirPods become an indispensable tool for productivity and entertainment on your Mac.


