


How to Take a Screenshot on Mac
Capturing your screen on a Mac is a fundamental skill, whether you need to save important information, share a visual guide, or document a problem. macOS offers several intuitive ways to take screenshots, ranging from simple keyboard shortcuts to a comprehensive built-in screenshot utility. This guide will walk you through all the methods, ensuring you can capture exactly what you need, when you need it.
Understanding Mac Screenshot Basics
Screenshots on a Mac are saved by default as PNG files. The naming convention for these files typically includes “Screenshot” or “Screen Recording” followed by the date and time they were taken. For instance, a file might be named “Screen Shot 2024-08-10 at 10.30.00 AM.png”. By default, these files are saved to your Desktop.
If you need to copy a screenshot directly to your clipboard instead of saving it as a file, you can do so by holding down the Control key in addition to the standard screenshot key combinations. For example, pressing Control-Shift-Command-3 will copy the entire screen to your clipboard.
Methods for Taking Screenshots on Mac
macOS provides multiple ways to capture your screen, catering to different needs and preferences. These methods can be broadly categorized into using keyboard shortcuts and utilizing the built-in Screenshot app.
Using Keyboard Shortcuts
Keyboard shortcuts are the quickest and most direct way to take screenshots on a Mac. Here are the primary shortcuts:
1. Capture the Entire Screen
To capture everything visible on your screen, use the following shortcut:
- Press and release Shift + Command + 3 simultaneously.
A thumbnail of the screenshot will briefly appear in the bottom-right corner of your screen. You can click this thumbnail to edit the screenshot immediately, or simply wait for it to be automatically saved to your Desktop.
2. Capture a Portion of the Screen
If you only need to capture a specific area of your screen, this shortcut is ideal:
- Press and release Shift + Command + 4 simultaneously.
Your cursor will transform into a crosshair. Click and drag this crosshair to select the area you wish to capture. Once you release the mouse or trackpad button, the screenshot of the selected area will be saved to your Desktop.
Tip: While the crosshair is active, you can press and hold the Space bar to move the selected area without changing its size. To cancel the screenshot at any point, press the Esc (Escape) key.
3. Capture a Specific Window or Menu
To capture a single window, a menu, or the menu bar:
- Press and release Shift + Command + 4 simultaneously.
- Then, press and release the Space bar.
Your cursor will change into a camera icon. Move this camera icon over the window or menu you want to capture. The window or menu will be highlighted. Click to take the screenshot. This method captures the selected window with its shadow by default. To exclude the shadow, press and hold the Option key while you click.
4. Capture the Touch Bar (if applicable)
For MacBooks equipped with a Touch Bar:
- Press and release Shift + Command + 6 simultaneously.
This will capture an image of your Touch Bar and save it to your Desktop.
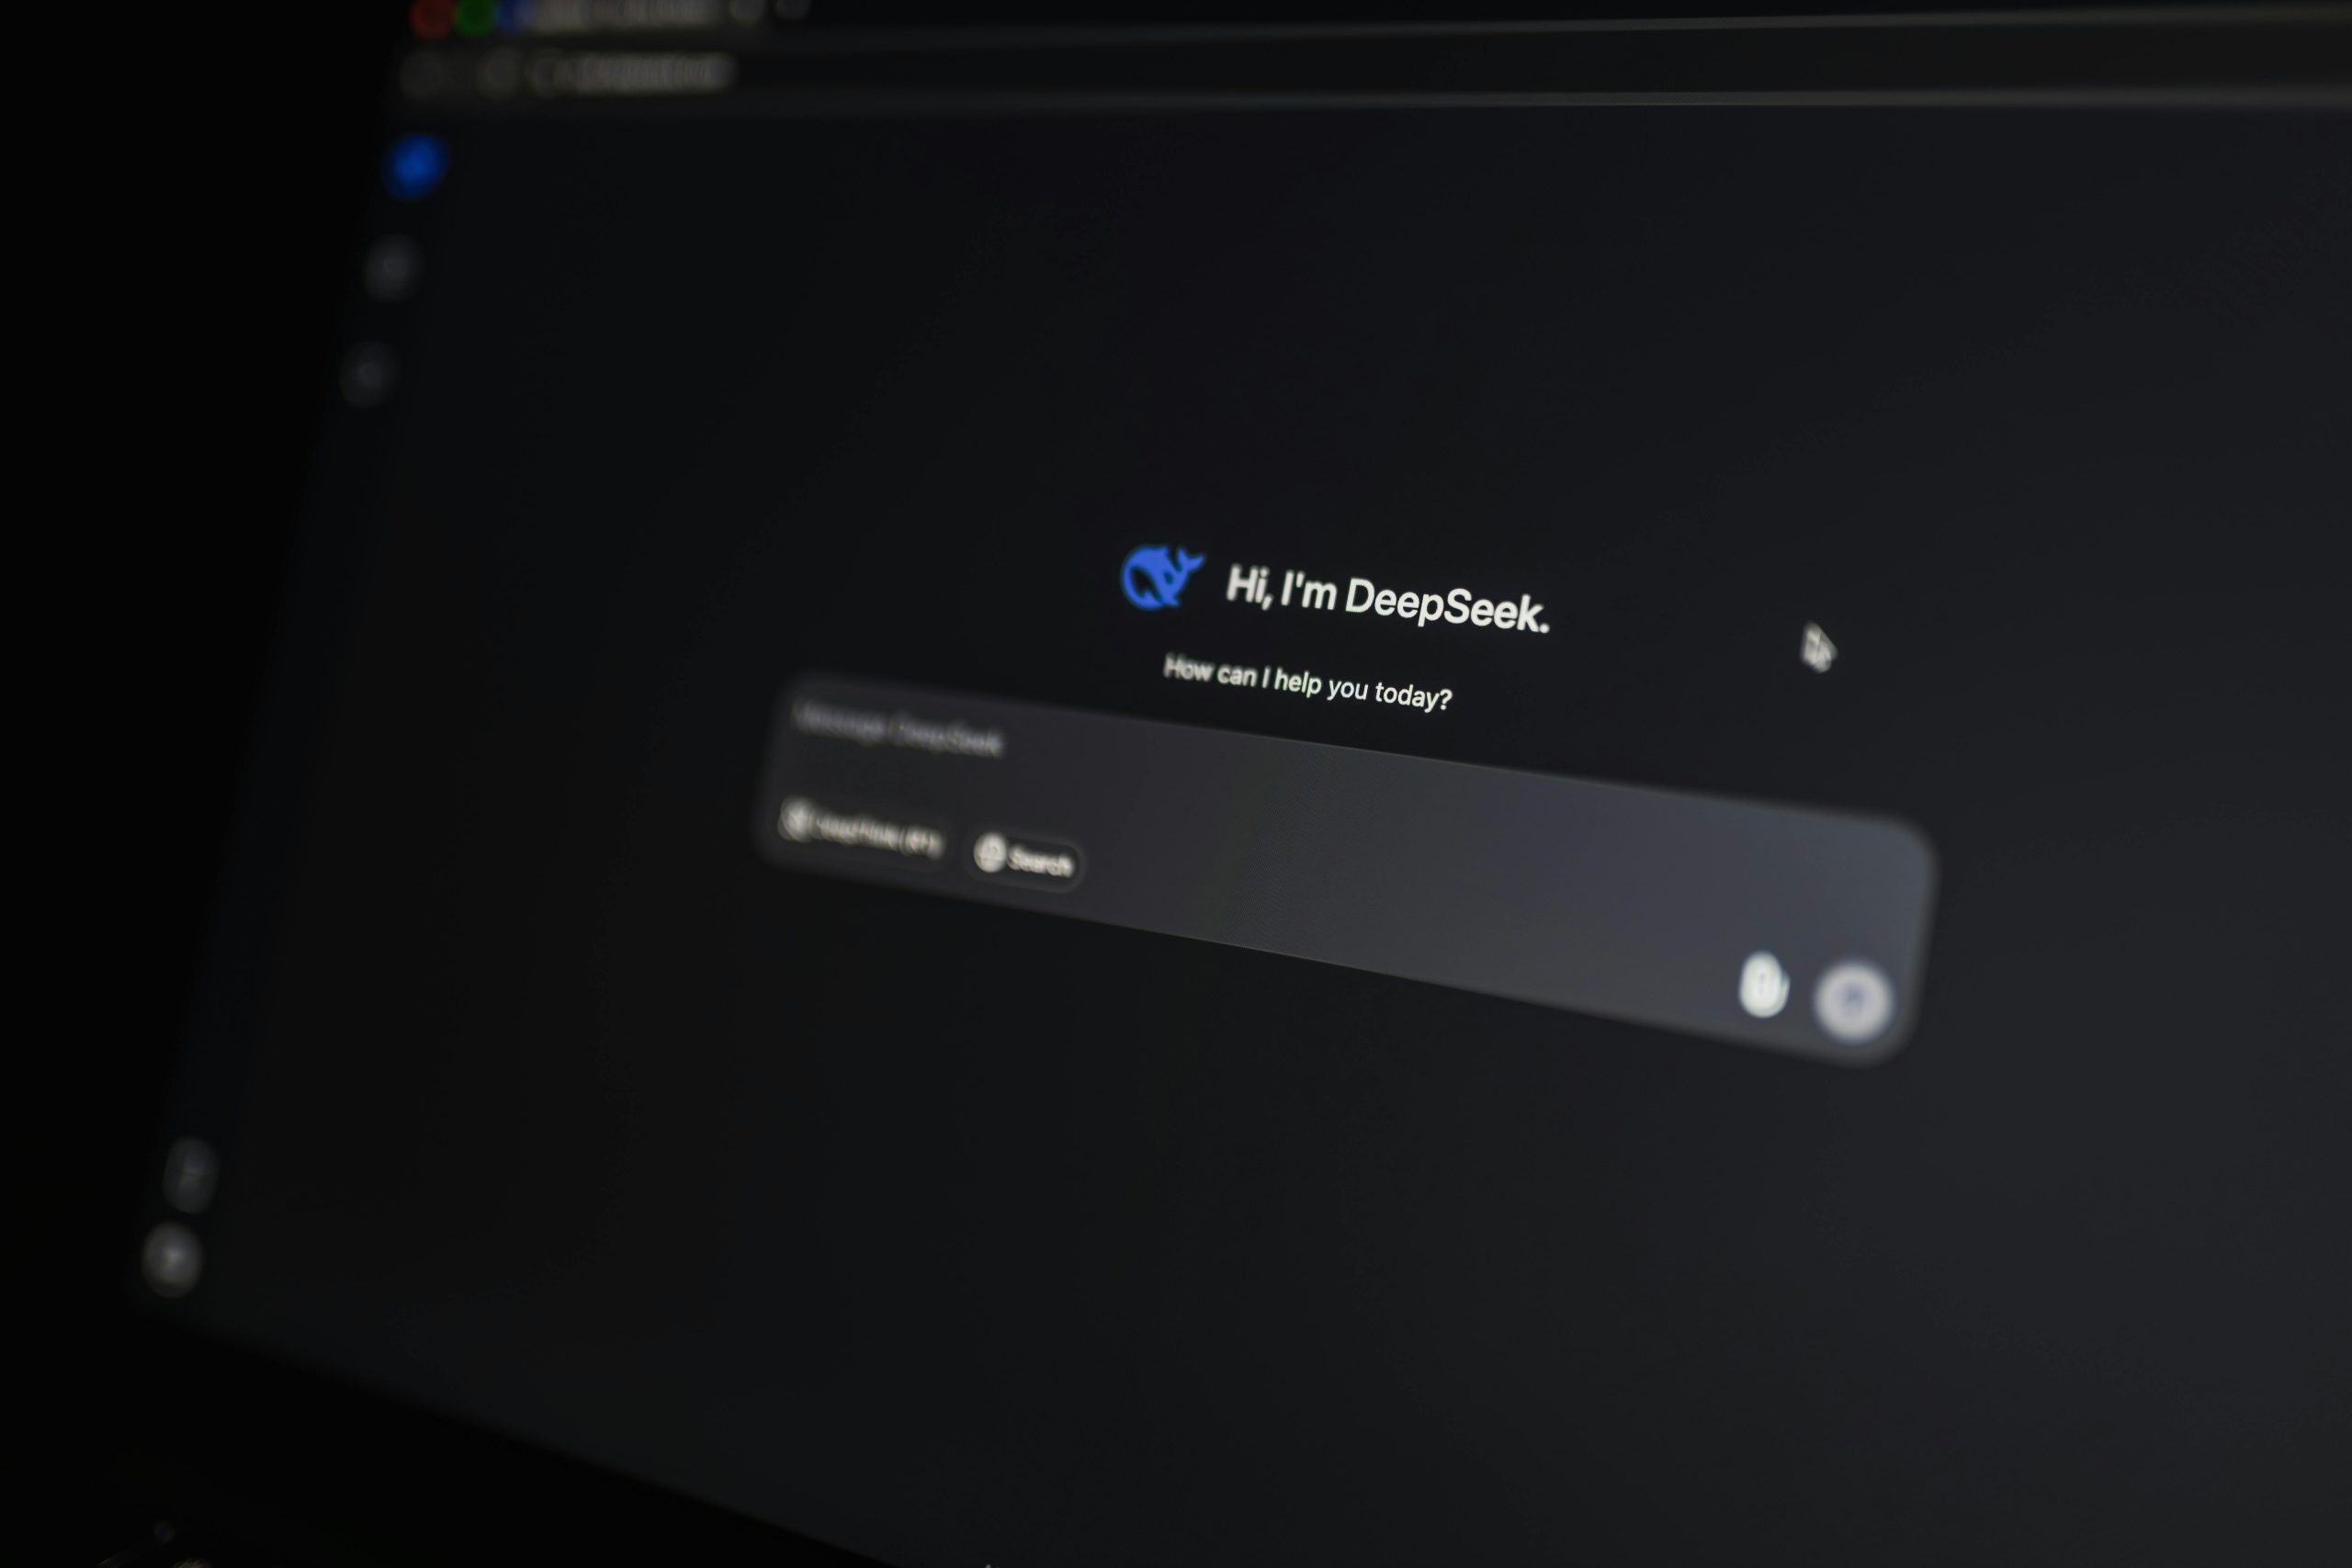
Using the Screenshot App
Introduced in macOS Mojave, the Screenshot app provides a more versatile interface with on-screen controls for capturing screenshots and screen recordings. This app is particularly useful for setting timers, choosing save locations, and accessing various capture modes.
Accessing the Screenshot App
- Press Shift + Command + 5 simultaneously.
This action will bring up a toolbar at the bottom of your screen, offering several options:
- Capture Entire Screen: Captures everything on your display.
- Capture Selected Window: Allows you to select a specific window to capture.
- Capture Selected Portion: Enables you to drag a frame to select a specific area of the screen.
- Record Entire Screen: Starts a video recording of your entire display.
- Record Selected Portion: Allows you to select a portion of the screen to record.
Screenshot Options
Within the Screenshot app’s toolbar, you’ll find an Options pop-up menu. This menu allows you to customize your screenshot experience:
- Save to: Choose where your screenshots will be saved. By default, this is the Desktop, but you can select other locations like Documents, Clipboard, or a custom folder.
- Timer: Set a delay (None, 5 Seconds, 10 Seconds) before the screenshot is taken.
- Show Floating Thumbnail: When enabled, a small thumbnail of your screenshot appears in the bottom-right corner of the screen for a few seconds. You can click it to edit, share, or move it, or swipe right to save it immediately.
- Show Mouse Pointer: Include the mouse pointer in your screenshot.
- Remember Last Selection: If you’re capturing a specific portion, this option will remember your last selection for repeated captures.
Editing and Annotating Screenshots
Once a screenshot is taken, macOS offers built-in tools for immediate editing and annotation.
Using the Floating Thumbnail
When the “Show Floating Thumbnail” option is enabled in the Screenshot app, a small preview of your screenshot appears in the bottom-right corner of the screen. You can:
- Click the thumbnail: This opens a Markup window where you can draw, add text, shapes, arrows, highlight areas, crop, or resize the screenshot.
- Swipe right on the thumbnail: This immediately saves the screenshot to your chosen location.
- Drag the thumbnail: You can drag the thumbnail into documents, emails, notes, or Finder windows.
Using the Preview App
All screenshots saved to your Desktop can be opened and edited using the Preview app, which is macOS’s default image viewer.
- Locate your screenshot file on the Desktop.
- Double-click the file to open it in Preview.
- In the Preview window, you’ll find a Markup Toolbar (often represented by a pen icon in a circle). Clicking this will reveal tools for drawing, adding text, shapes, signatures, and more.
Changing the Screenshot Save Location
If you prefer your screenshots to be saved in a different folder than the default Desktop, you can easily change this setting:
- Press Shift + Command + 5 to open the Screenshot app.
- Click on the Options menu.
- Under the “Save to” section, select your desired location. You can choose from predefined locations or click “Other Location…” to navigate to or create a specific folder.
Once set, all subsequent screenshots taken using the built-in methods will be saved to this new location until you change it again.
Third-Party Screenshot Tools
While macOS’s built-in tools are robust, several third-party applications offer advanced features for screenshotting and screen recording, such as scrolling captures, more extensive annotation tools, cloud integration, and customizable workflows.
Some popular options include:
- CleanShot X: Offers a comprehensive suite of features, including scrolling captures, annotation tools, cloud uploading, and more.
- Shottr: A lightweight and fast tool with annotation capabilities, scrolling screenshots, and cloud upload options.
- Snagit: A professional-grade tool known for its advanced screen capture and recording features, including text extraction from images and scrolling captures.
- LightShot: A free and simple option for quick captures and basic editing.
- Xnapper: Known for its ease of use and features like automatic beautification and screen recording.
Troubleshooting Common Screenshot Issues
If you encounter problems with taking screenshots, consider the following:
- Keyboard Shortcuts Not Working: Ensure that the keyboard shortcuts are enabled in System Settings > Keyboard > Keyboard Shortcuts > Screenshots. You can also try resetting them to default.
- Screenshots Not Saving: Verify the save location in the Screenshot app’s Options. If you’ve recently used cloud storage services like Dropbox, ensure they aren’t intercepting and moving your screenshots before you can access them.
- App Restrictions: Some applications, particularly those with protected content (like certain streaming services), may prevent screenshots from being taken.
By mastering these methods, you’ll be able to efficiently capture and utilize screen content on your Mac for any purpose.


