Comprehensive Tutorial: How to Fix an iPhone 15 Screen
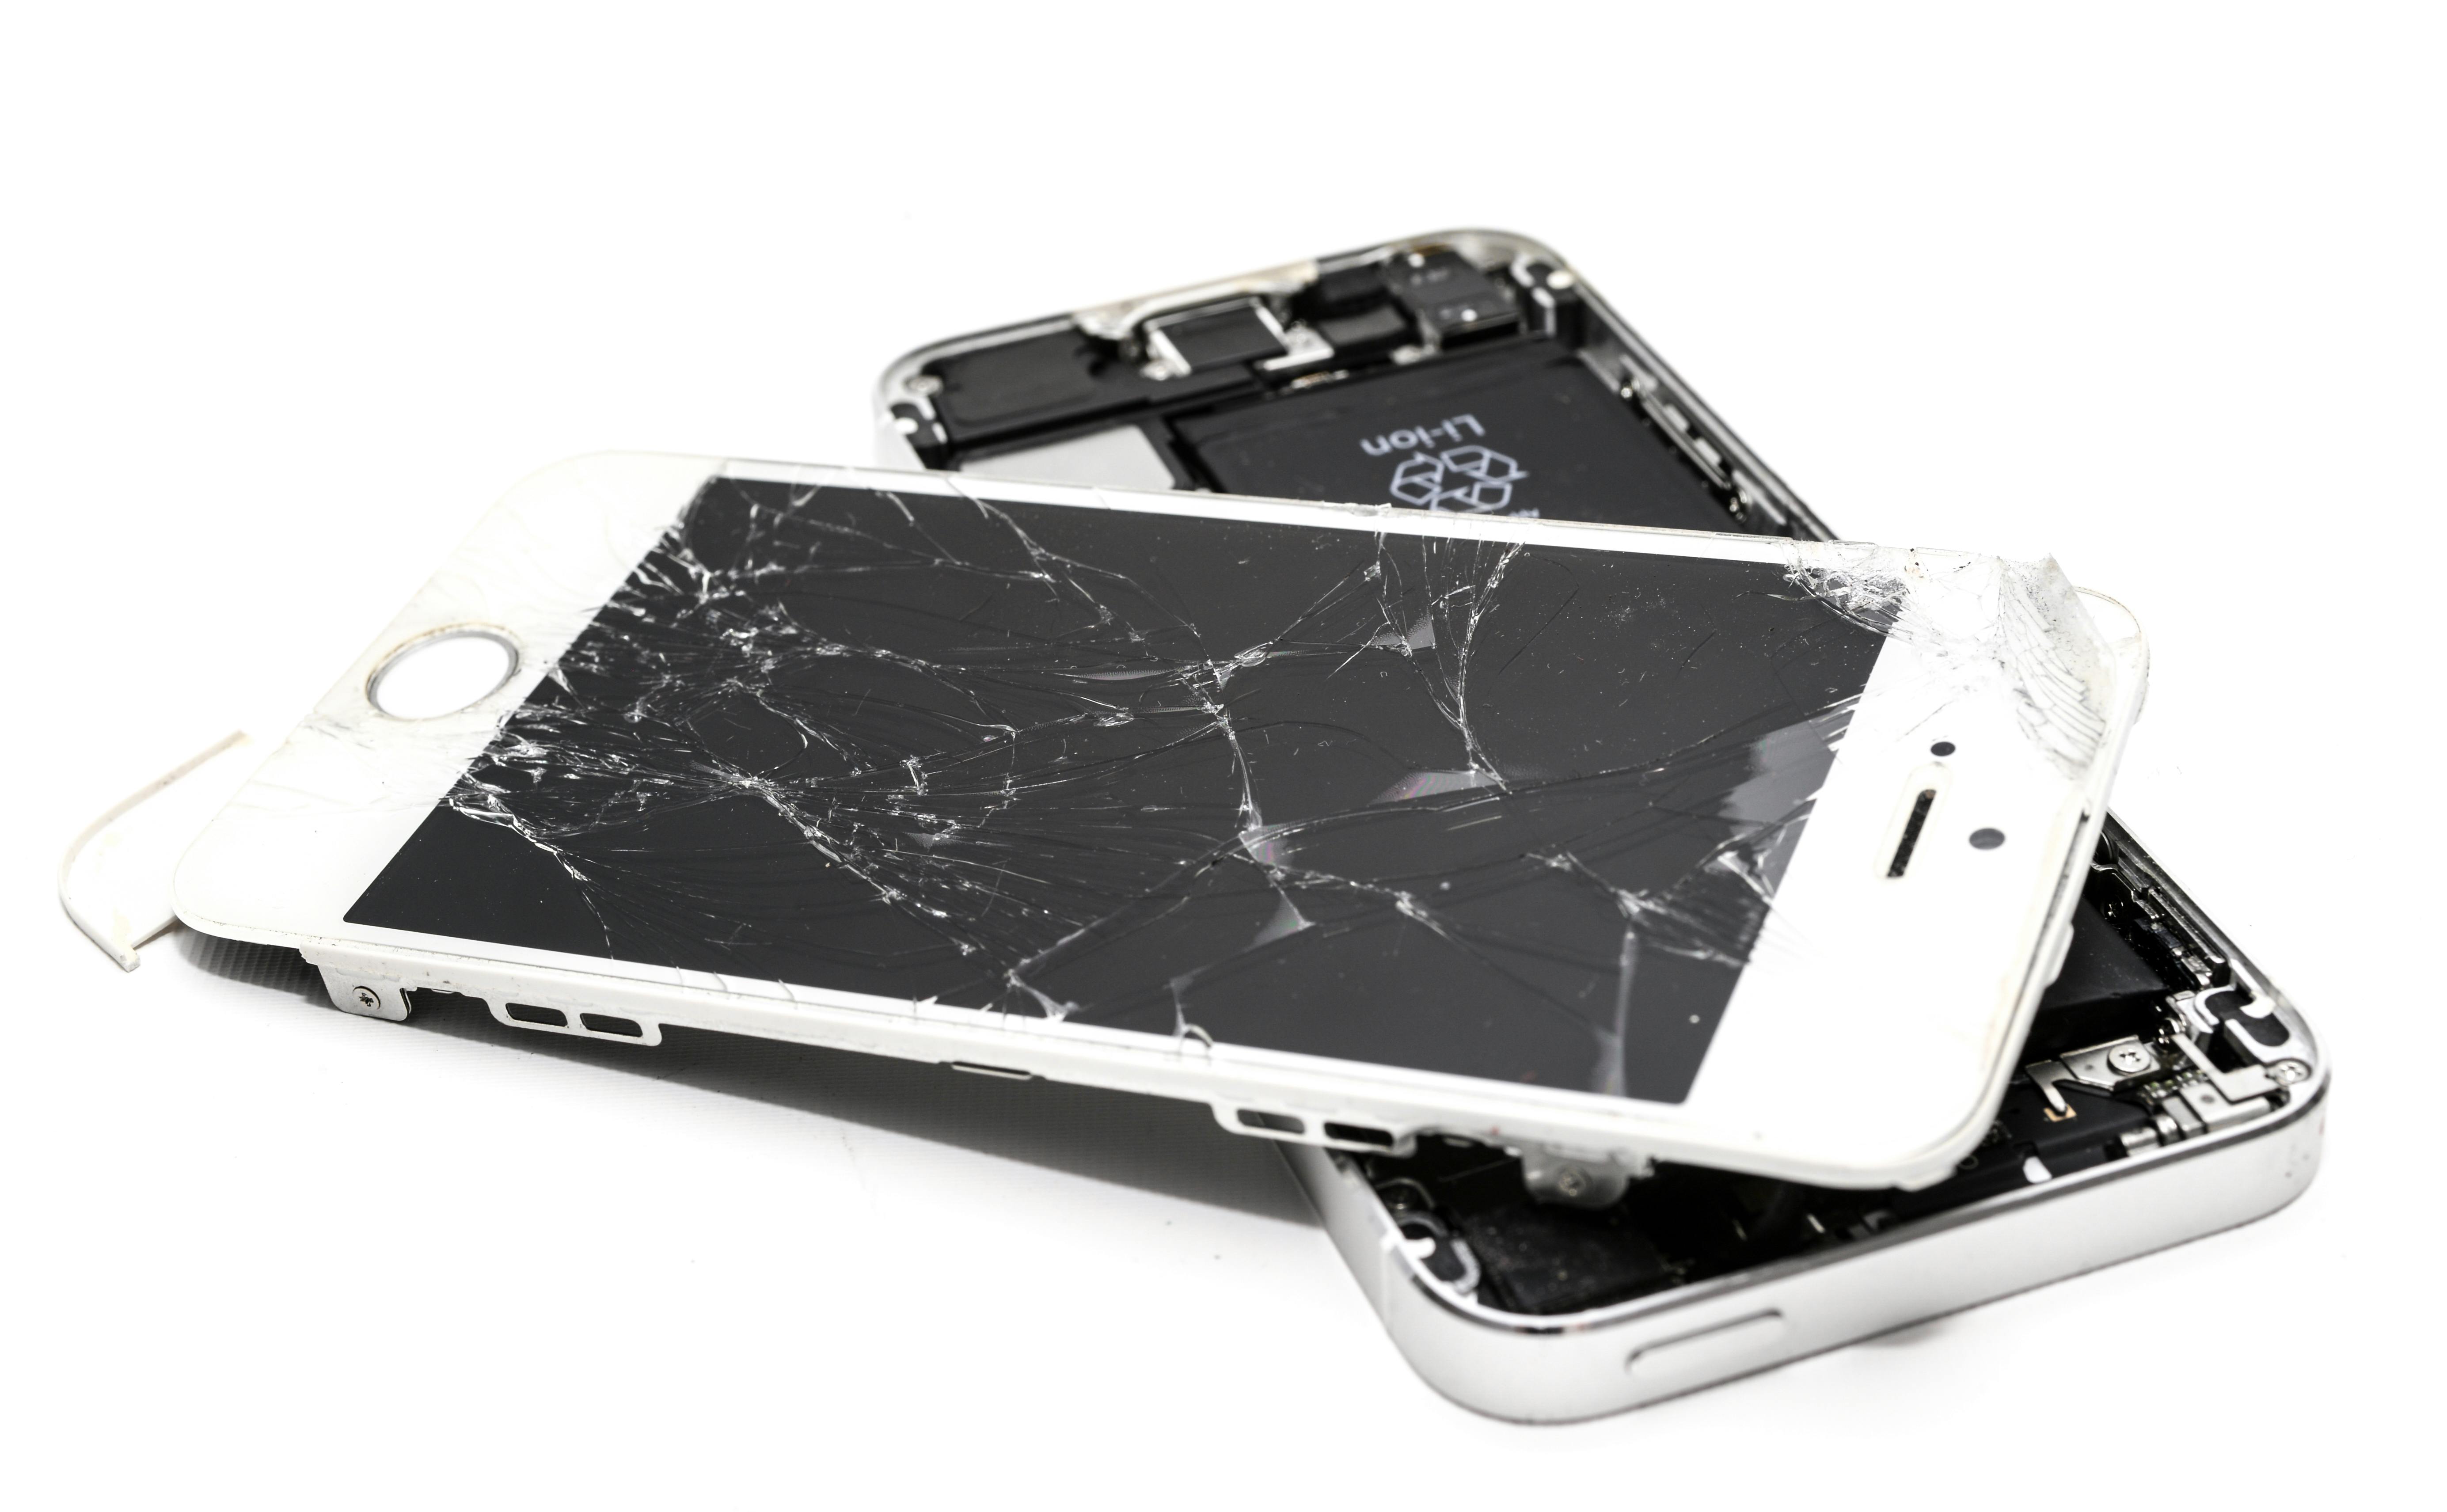
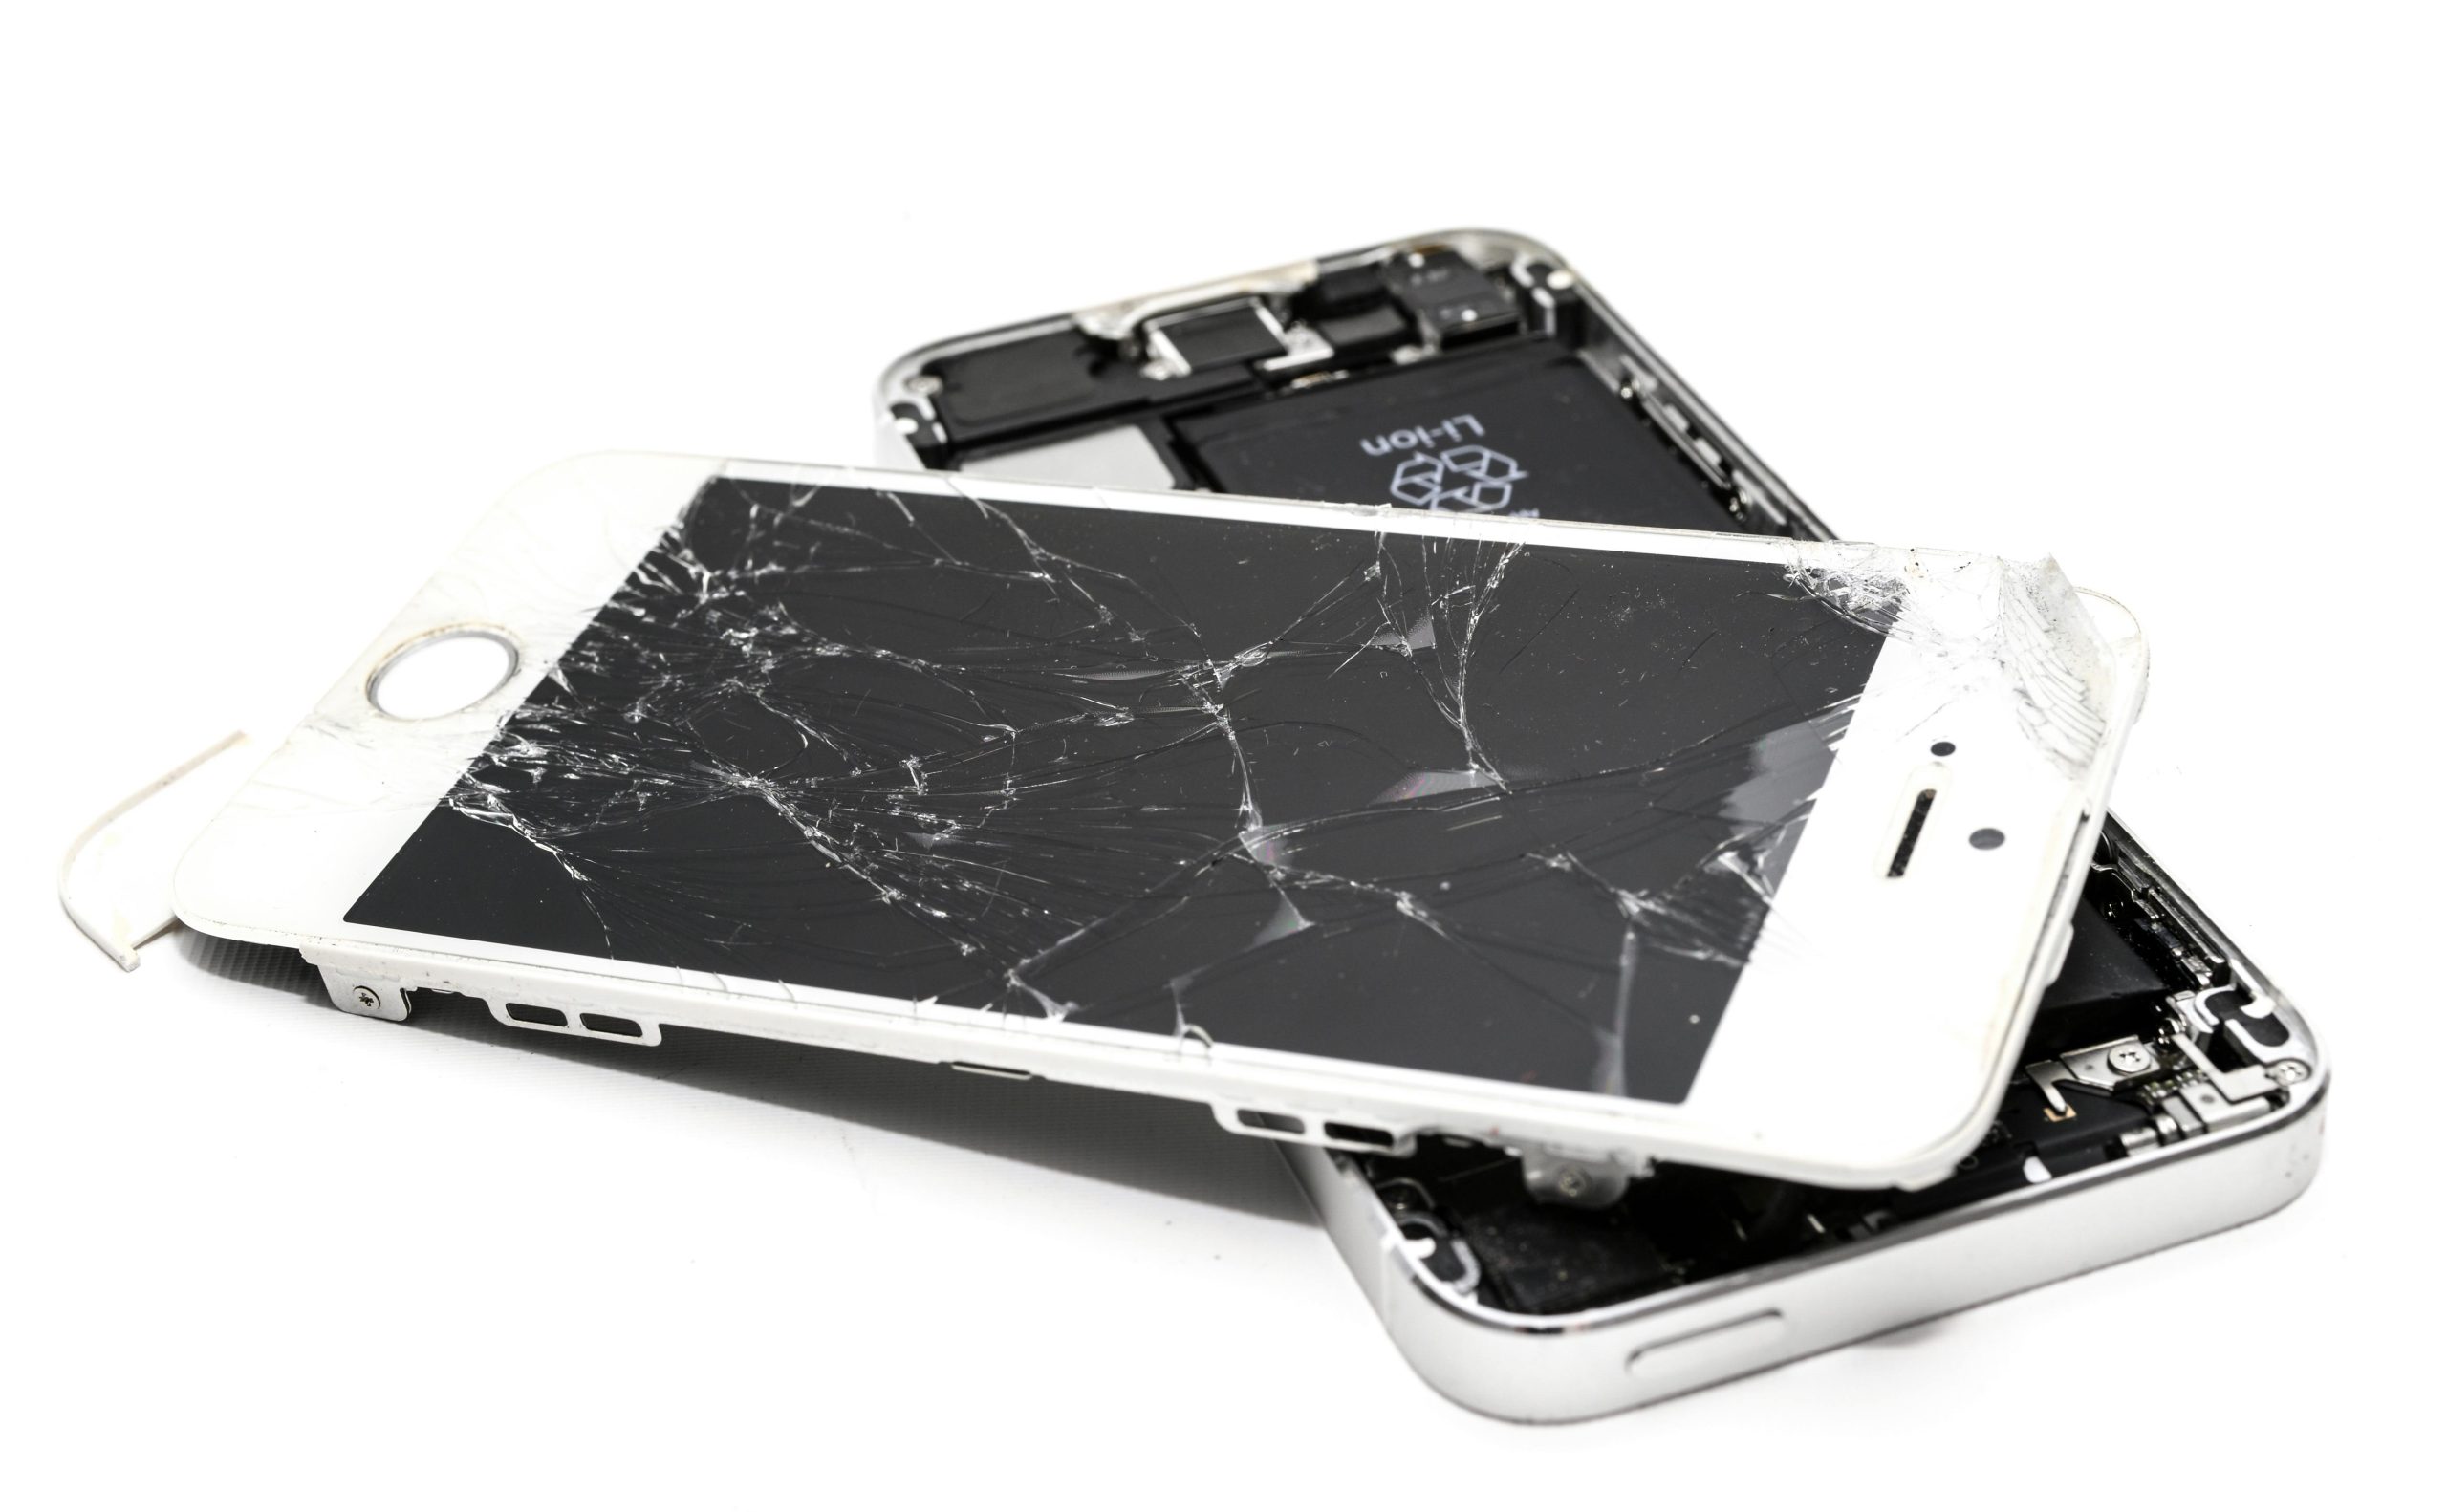
A cracked or malfunctioning iPhone 15 screen can be a significant inconvenience, impacting both the functionality and aesthetics of your device. Fortunately, with the right tools and a methodical approach, you can successfully replace your iPhone 15 screen. This tutorial provides a comprehensive, step-by-step guide for DIY screen replacement, covering everything from necessary tools and parts to the intricate process of disassembly and reassembly. We will also touch upon common screen issues and considerations for repair costs in 2024-2025.
Understanding iPhone 15 Screen Issues
Before embarking on a screen replacement, it’s helpful to understand the common problems iPhone 15 users might encounter with their displays. These can range from physical damage like cracks to software-related glitches affecting performance.
Common Screen Problems:
- Screen Flickering: This can manifest as subtle brightness changes or more noticeable flickering, often triggered by specific apps or software bugs. Restarting the iPhone, updating iOS, or adjusting brightness settings can sometimes resolve this.
- Touchscreen Unresponsiveness: A screen that fails to register touches can be caused by dirt, software glitches, or hardware issues. Cleaning the screen, performing a force restart, or updating iOS are initial troubleshooting steps.
- Screen Burn-In: This occurs when static images are displayed for extended periods, especially at high brightness levels. Minimizing static image display and brightness can help prevent it.
- Ghost Touch: Unwanted screen inputs can be caused by software bugs or external factors like poorly fitted cases or screen protectors.
- Frozen Screen: A completely unresponsive screen can often be fixed with a force restart or by closing background apps.
Tools and Parts Required for iPhone 15 Screen Replacement
Successfully replacing your iPhone 15 screen requires a specific set of tools and a quality replacement screen assembly. Using the correct tools ensures a smoother process and minimizes the risk of further damage.
Essential Tools:
- Pentalobe Screwdriver: Specifically, a P2 (Pentalobe) screwdriver is needed for the two screws at the bottom of the iPhone.
- Tri-Point Screwdriver: A Y000 (Tri-Point) screwdriver is required for internal screws.
- Phillips Screwdriver: A small Phillips head screwdriver may also be necessary for some internal components.
- Suction Cup: Used to lift the screen from the frame.
- Opening Picks/Pry Tools: Thin plastic picks or a spudger are essential for separating the screen from the adhesive and prying open delicate connectors.
- Tweezers: For handling small screws and components.
- Spudger: A non-conductive tool for disconnecting cables.
- Heat Gun or Heating Pad: To soften the adhesive holding the screen in place. A temperature around 80°C (176°F) is often recommended for the iPhone separator, or 55-65°C for a heat mat.
- iPhone Separator Machine (Optional but Recommended): A professional tool that heats and loosens adhesive.
- True Tone Programmer: Necessary to transfer the True Tone data from the old screen to the new one, preserving this feature.
- Replacement Adhesive Strips: To re-seal the phone and maintain water resistance.
- Ethyl Alcohol (Isopropyl Alcohol): Can be used to help soften stubborn adhesive.
- Magnetic Screw Mat: Highly recommended for organizing the various small screws during disassembly.
- Protective Glasses: To protect your eyes from potential flying debris.
Replacement Parts:
- iPhone 15 Screen Assembly: Ensure you purchase a screen assembly specifically for the iPhone 15 model. These can be found as LCD or OLED assemblies, with options for genuine, refurbished, or aftermarket quality.
Step-by-Step iPhone 15 Screen Replacement Guide
Proceed with caution and patience. It is crucial to disconnect the battery before working on internal components to prevent short circuits.
Step 1: Power Down the iPhone
Before beginning any repair, ensure your iPhone 15 is completely powered off. Press and hold the side and volume buttons, then slide to power off.
Step 2: Remove Pentalobe Screws
Using the Pentalobe screwdriver, remove the two screws located on either side of the charging port at the bottom edge of the iPhone. Keep these screws organized.
Step 3: Heat the iPhone to Loosen Adhesive
Place the iPhone face-up on a heating pad or use a heat gun to gently warm the edges of the screen. This softens the adhesive that seals the display to the frame. Aim for a temperature that makes the screen warm to the touch, typically around 80°C (176°F) if using a separator, or 55-65°C if using a heat mat.
Important Note: Draining the iPhone’s battery to below 25% is recommended to minimize the risk of fire or explosion if the battery is accidentally punctured during the repair.
Step 4: Apply Suction Cup and Create a Gap
Once the adhesive is softened, attach a suction cup to the lower portion of the screen. Carefully lift the suction cup to create a small gap between the screen and the frame. Insert an opening pick into this gap.
Caution: Be mindful of the delicate flex cables located along the edges of the screen. Avoid inserting the pick too deeply, generally no more than 3mm, especially along the right edge.
Step 5: Separate the Screen Adhesive
Slowly slide the opening pick around the perimeter of the iPhone, cutting through the adhesive. You may need to reapply heat if the adhesive becomes too resistant. Keep the picks in place to prevent the adhesive from resealing.
Step 6: Open the iPhone
Once the adhesive is cut, carefully open the iPhone. The screen typically opens like a book, hinging from the left side. Do not force it open, as it is still connected by cables. Use the suction cup to prop the screen open if needed.
Step 7: Disconnect the Battery
Locate the battery connector on the logic board. It is usually covered by a small metal bracket secured by Tri-Point screws. Remove the screws, then the bracket. Use a plastic spudger to gently disconnect the battery cable from its socket.
Step 8: Disconnect Display and Sensor Cables
Identify the brackets covering the display and front sensor cables. Remove the screws securing these brackets using the Tri-Point screwdriver. Carefully disconnect the display cable and the front sensor cable (which includes the earpiece speaker, microphone, and Face ID components) using the spudger.
Critical Note: The front sensor assembly is factory-paired with your iPhone’s logic board for Face ID functionality. Extreme care must be taken during its removal and transfer to avoid damage, as any damage to these components can render Face ID inoperable. Only Apple or an authorized technician can restore Face ID if it’s damaged.
Step 9: Remove the Old Display
With all cables disconnected, you can now completely remove the damaged display assembly from the iPhone’s frame.
Step 10: Transfer the Front Sensor Assembly (if necessary)
If your replacement screen does not come with the front sensor assembly pre-installed, you will need to transfer it from the old screen. This typically involves removing screws and carefully heating and prying the assembly off the old display. Then, carefully adhere it to the new screen, ensuring all components are correctly positioned.
Note: If you purchased a genuine Apple replacement screen, it may come with the front sensor assembly already attached.
Step 11: Clean Old Adhesive
Thoroughly clean the iPhone’s frame to remove any residual adhesive from the old screen. This ensures a good seal for the new adhesive.
Step 12: Install the New Screen
Carefully align the new display assembly with the iPhone’s frame. Reconnect the front sensor cable and the display cable to the logic board. Ensure they click securely into place. Reinstall the metal brackets and their screws to secure these connectors.
Step 13: Program True Tone (If Applicable)
If you are aiming to retain the True Tone feature, you will need to use a True Tone programmer. This device reads the data from the original screen and writes it to the new screen.
Step 14: Apply New Adhesive and Reassemble
Apply the new pre-cut adhesive strips around the perimeter of the iPhone’s frame. Carefully remove any protective films from the adhesive. Align the top edge of the new screen first, then gently press down along the edges to secure it into the frame.
Step 15: Reinstall Pentalobe Screws
Finally, reinsert the two Pentalobe screws at the bottom of the iPhone.
Step 16: Test the New Screen
Power on your iPhone and test all functionalities of the new screen, including touch response, brightness, and any other features. If you transferred the front sensor assembly, test Face ID as well.
Post-Repair Considerations and Costs
After a successful screen replacement, there are a few important points to keep in mind regarding functionality, warranty, and cost.
True Tone and “Important Message”
Even with genuine Apple parts, the True Tone feature may be disabled after a screen replacement unless specific programming is done. Additionally, your iPhone may display an “Important Message” indicating that the display authenticity cannot be verified by Apple’s software. This message typically appears for a few days in the lock screen and then in settings, but it does not affect the device’s performance.
As of April 2024, Apple announced a policy change allowing the use of used genuine Apple parts for repairs on iPhone 15 and newer models without losing functionality. This change aims to make repairs more accessible and potentially reduce costs.
Water Resistance
Opening your iPhone will breach its water-resistant seal. It is crucial to apply new adhesive seals to restore water resistance. Without a new seal, your iPhone will be more vulnerable to dust and moisture ingress.
Warranty and Repair Costs
The cost of iPhone screen replacement can vary significantly in 2024-2025. Here’s a general breakdown:
- Apple Official Repair:
- With AppleCare+: Typically $29 per incident for screen repair.
- Out-of-Warranty: Can range from $129 for older models to $379 for Pro Max models. For the iPhone 15 series, expect costs around $209.99 to $389.99 depending on the specific model and damage severity.
- Third-Party Repair Shops: Prices can range from $60 to $320, depending on the model and the quality of parts used. Some providers offer tiered pricing based on damage severity.
- DIY Repair: The cost of parts and tools can range from $35 to $200, making it the most budget-friendly option but carrying the highest risk.
It’s important to note that using non-genuine parts from third-party or DIY repairs may void Apple’s warranty for future repairs.
As of June 2024, Apple has changed its policy regarding standard warranty coverage for minor cracks on iPhones and Apple Watches, now classifying them as accidental damage, which requires payment for repair unless covered by AppleCare+.
Third-Party Repairs and Apple Service
If you have had your iPhone repaired by a third-party service, Apple may still service your device for other issues (like battery replacement), but they will assess it for any signs of tampering or liquid damage. Apple-authorized service providers, like Best Buy, use genuine Apple parts and offer Apple-certified repairs.
By following this comprehensive tutorial and exercising care, you can successfully replace your iPhone 15 screen, restoring its functionality and appearance.